As lacrosse goalie parents gear up for travel club lacrosse season, jumping on a plane to attend a tournament might be in your near future.
Such was the case for this lacrosse goalie Dad who reached out for advice:
Coach,
My daughter will be attending out-of-state tournaments for the first time. She is a great goalie and has purchased all of her equipment with her own money over the last few years. She is worried about how to get her goalie equipment and sticks through the airport. TSA says that everything can be checked, but we have heard some horror stories about getting to the tournament destination with broken or missing equipment. What is the best way to protect her stick and equipment? Is there a special case or bag that works best? We are flying to Baltimore in June and July from Houston. Thank you for your time and the helpful content that you provide.
Those horror stories are real – broken or warped pockets, missing bags, cracked heads. In this post I’ll share proven methods to travel with your goalie stick so it arrives in the same condition it left.
TL;DR: Remove the head and carry it on. Check the shaft. If your shaft won’t fit in your suitcase, use a poster tube or PVC pipe. Cost: $0-15 if you already have a backpack.
Can You Bring a Goalie Stick on a Plane?
According to TSA regulations, lacrosse sticks (including goalie sticks) are prohibited in carry-on bags and must be placed in checked luggage.
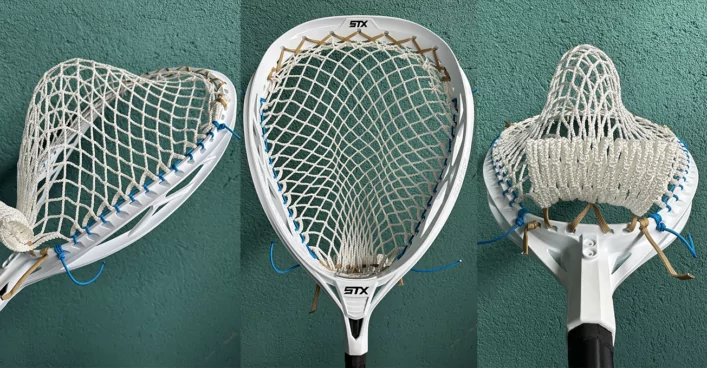
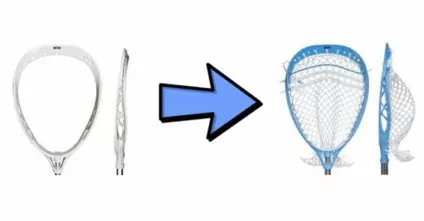
However – and this is key – you can separate the head from the shaft.
This gives you the best of both worlds: protect your most valuable component (the head with your perfectly strung pocket) while staying within TSA rules.
Best Method: Remove the Head (Carry On) + Check the Shaft
This is the method I used throughout my college playing days, and it’s still the smartest approach for most goalies.
Here’s how it works:
Head → Carry-on backpack
- Remove your goalie head(s) from the shaft
- Pack in your carry-on backpack
- Even better if your backpack has exterior clips to attach it
- This ensures your pocket stays perfect and travels with you
Shaft → Checked luggage
- Wrap in clothes or bubble wrap for extra protection
- Pack a screwdriver and extra screws in the checked bag
Why this method is superior:
Your pocket is safe. You control it the entire flight. No baggage handlers crushing it, no pressure from other luggage warping the mesh.
If the airline loses your checked bag (it happens), replacing a shaft is infinitely easier than finding a new goalie head strung exactly how you like it. A shaft costs $50-150 and takes 2 minutes to install. Or odds are you can persuade a teammate to lend you their backup shaft for a cost of nothing.
A properly strung goalie head? That’s weeks of breaking in and hundreds of dollars.
Note on shaft length: If you use an attack length shaft (my personal preference), it fits perfectly in standard checked luggage. If you’re a long shaft goalie, see the solutions at the bottom of this post.
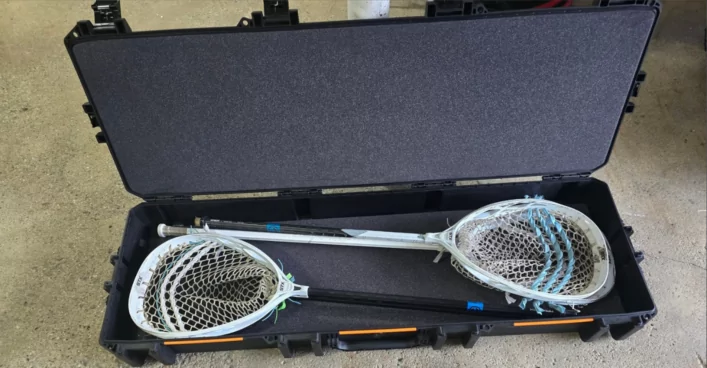
Alternative Options: Specialty Cases
If you prefer to keep your sticks fully assembled, here are a few options.
These are pricier ($50-150) but work well if you already own the gear or travel frequently.
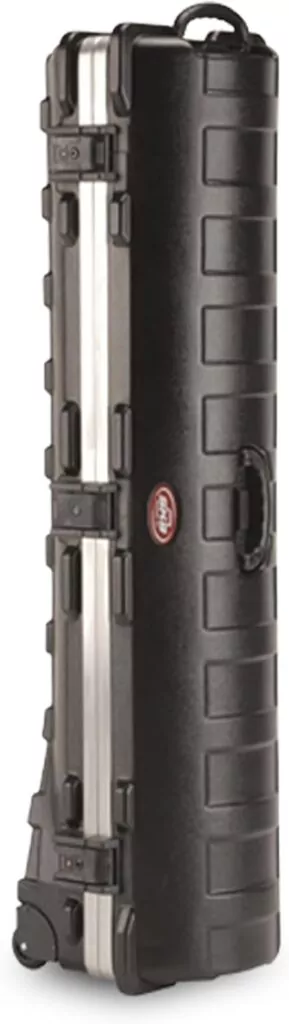
Fits assembled goalie sticks without removing heads. You can add extra gear, but keep items away from your pocket. Consider reverse pounding the pocket or stuffing a balled-up t-shirt inside to protect the mesh.
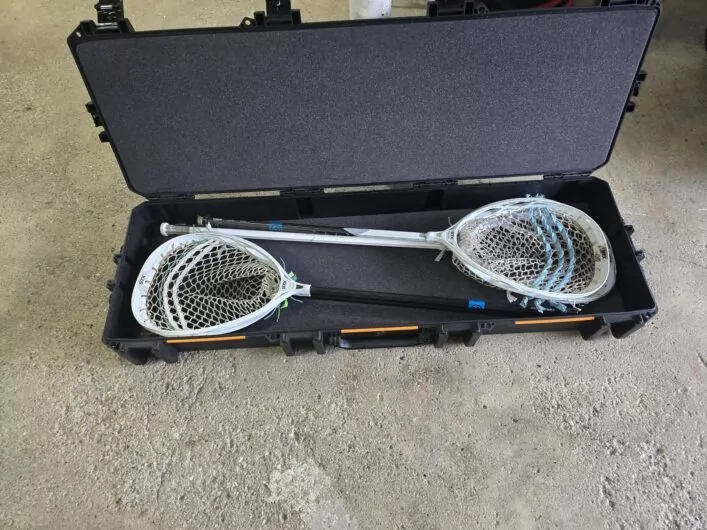
A rifle case provides excellent protection for assembled sticks. Solid foam interior keeps heads secure.
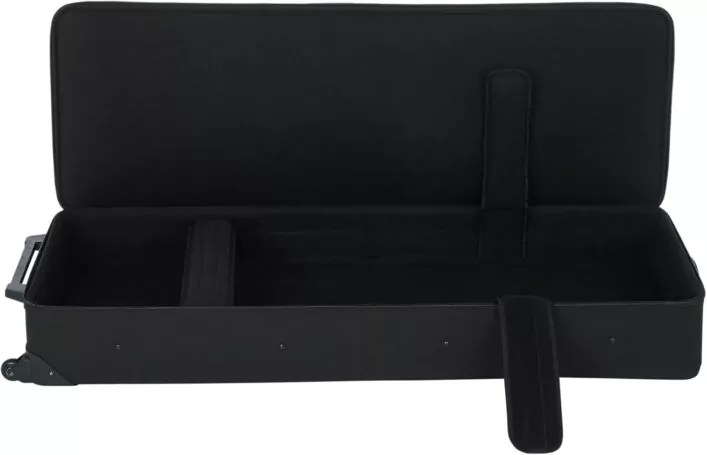
Got a musician in the house? Large keyboard cases fit goalie sticks surprisingly well and offer good protection.
The downside: While these cases protect your heads during travel, you’re still in trouble if the airline misplaces the entire bag. That’s why I prefer the remove-head method.
Solutions for Long Shaft Goalies
If you use a long shaft and it won’t fit in your checked suitcase, here are proven solutions:
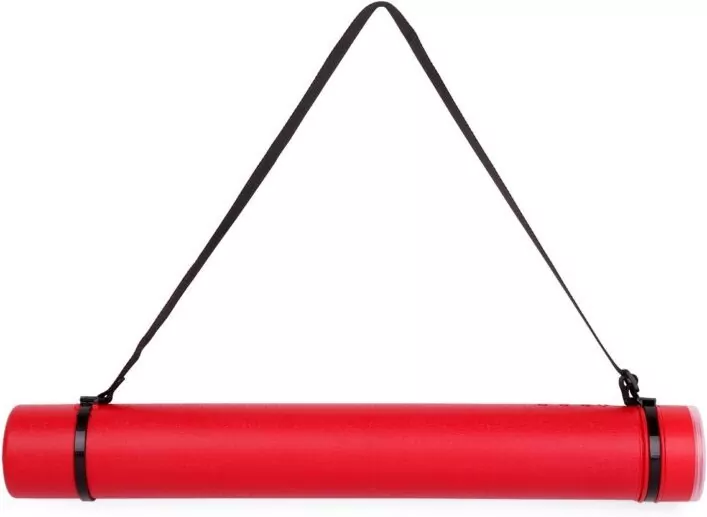
Slip the shaft inside, tape the ends, and check it. Cheap and effective.
PVC Pipe from Home Depot ($5-10)
Buy PVC pipe (2-3 inch diameter) cut to length, plus end caps. Tape it up and check it. This is the most durable option.
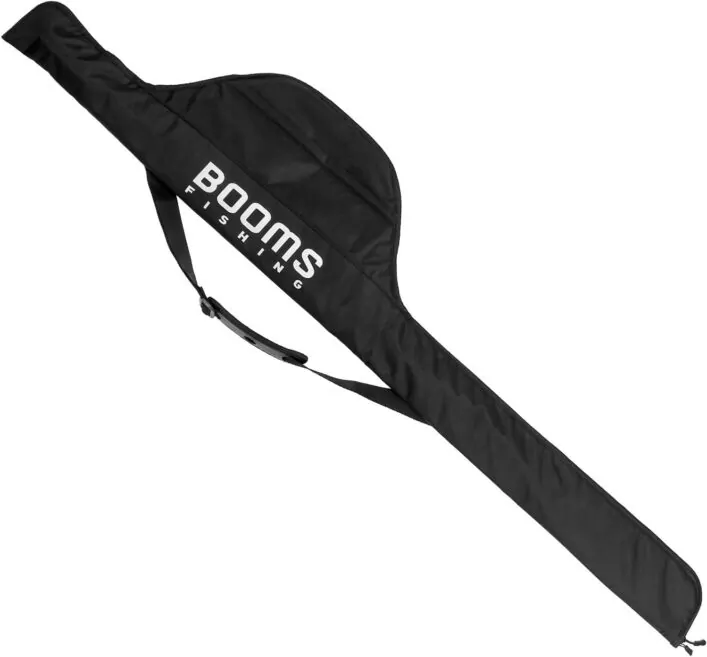
Built for protecting long, narrow items during travel. Works perfectly for shafts.
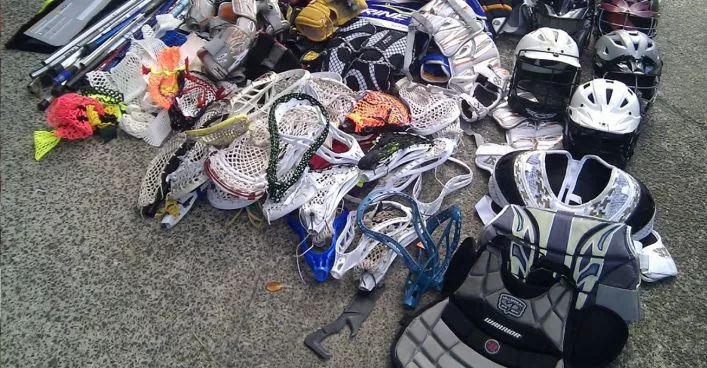
What About Your Other Gear?
Consider carrying on anything that would be extremely expensive or difficult to replace:
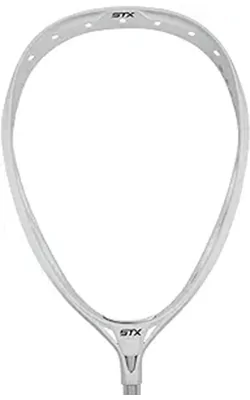
- Goalie heads (obviously)
- Helmet (especially if customized with decals or paint)
- Cleats (new cleats are brutal to break in on short notice)
- Jersey (if it’s personalized or team-issued)
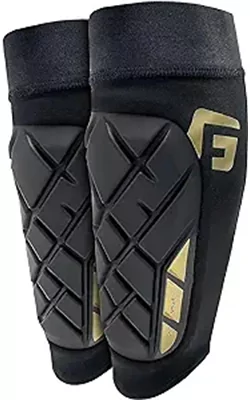
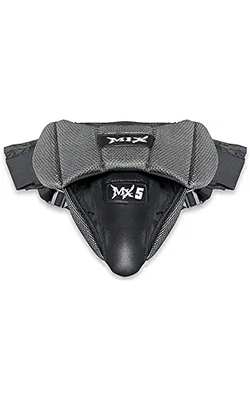
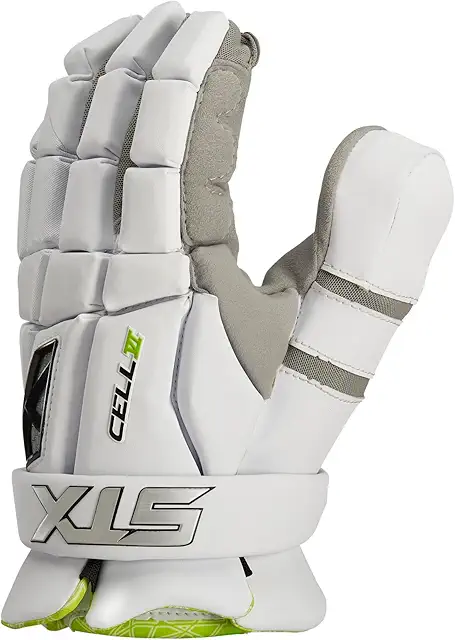
Everything else – pads, gloves, throat guard, cup – can safely go in checked luggage.
Pro tip: Some parents throw an AirTag in their checked gear bag to track it in case of loss or delay.
Final Checklist Before Travel
- Remove goalie head(s) from shaft
- Pack head(s) in carry-on backpack
- Wrap shaft and pack in checked luggage
- Include screwdriver + extra screws in checked bag
- Consider AirTag for checked bag tracking
- Arrive at airport with extra time for checking equipment
Conclusion
Traveling to a summer tournament should be exciting for your young goalie – not stressful.
The remove-head method costs nothing, gives you total control over your most valuable equipment, and keeps you game-ready even if luggage gets delayed.
I’ve used this method for years and never had an issue. Your daughter put her own money into that gear – this is how you make sure it gets there safely.
Got a tournament coming up? Practice removing your head tonight so you’re ready on travel day.
Good luck in your travel games, goalies!
Until next time, Coach Damon


 14 Amazing Lacrosse Goalie DrillsAug. 1, 2024
 Quick Guide To Lacrosse Slang TermsApril 14, 2025
 Lacrosse Goalies Rules To KnowJune 28, 2022
 Lacrosse Goalie Step-by-Step Guide to Getting RecruitedFebruary 6, 2022
 18 Lacrosse Goalie Drills to Improve Your GameApril 24, 2025
 7 Elements of a Great Lacrosse Goalie StanceAug. 1, 2020
 12 Lacrosse Goalie Tips To Take Your Game to the Next LevelSeptember 10, 2024
 STX Eclipse 3 Goalie Head ReviewApril 24, 2025
 Lacrosse Goalie WorkoutAug. 12, 2019
 The Basics of Making a SaveJune 29, 2021