Today’s post is my response to a question I got from a young goalie regarding how to tape a lacrosse goalie stick.
Taping the stick is one of those things I never thought about discussing here on the blog but I’m sure there are plenty of beginners wondering what the purpose of tape on the stick is and how they should go about taping up their shaft.
Like every lacrosse goalie stick setup you’re going to find a lot of variance in how goalies tape up their shaft. But you’ll also find a lot of similarities.
There is a lot of personal preference there. But there are also some steadfast rules that I think all goalies should follow when it comes to taping up the stick.
So let’s get right into it.
The Purpose of Tape on the Stick
Tape serves 2 (sometimes 3) purposes on the lacrosse stick:
Improve your grip on the shaft
Serve as a quick reminder (a guide) of where to put your hands
Keep the head attached to the shaft when your screw is broken
Titanium shafts can get a little slick. Especially when its raining or wet outside. So the tape on the stick helps improve our grip between the shaft and the leather palms of our gloves.
Secondly, tape on the stick serves as a reminder. A physical reminder of where our hands should be when we’re setup in the perfect lacrosse goalie stance. While we’re focused on the ball and setting up our defensive slides, the tape will help a goalie get his hands into the right position every single time.
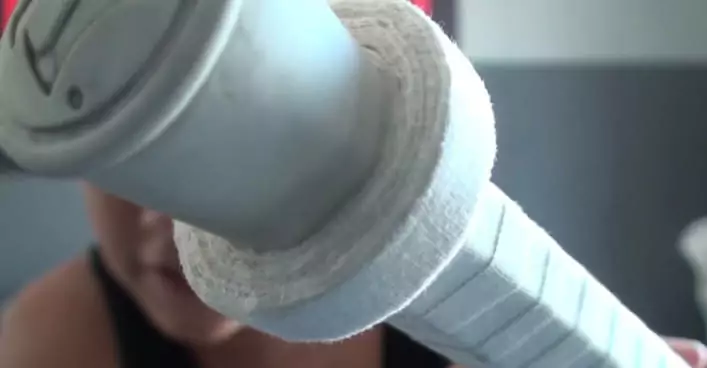
Finally, for those that have old gear like me. The hole in the shaft no longer properly holds a screw. Thus I have no way of attaching the head to the shaft except for good old fashion tape. In this scenario the tape literally holds the head on.
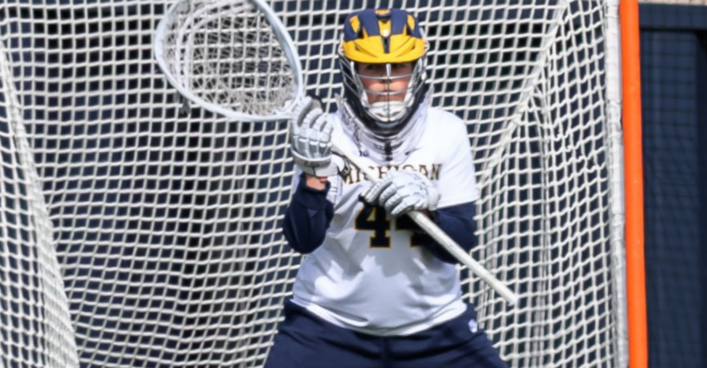
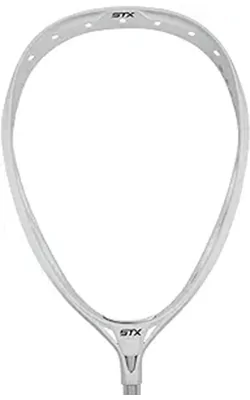
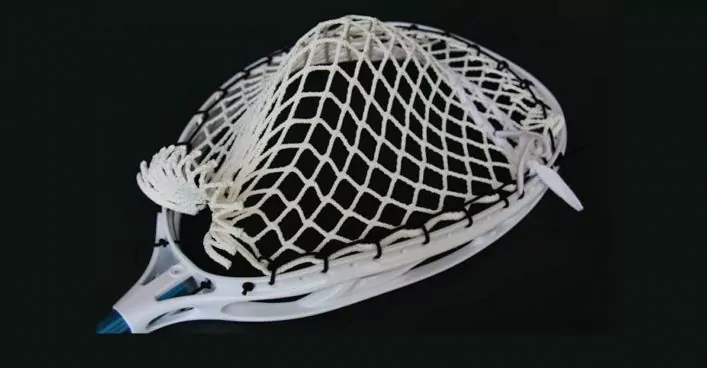
I use the STX Eclipse as my preferred head (although I just ordered the STX Eclipse II). The head design of the Eclipse means that your top hand is on the shaft. For some heads, the top head rests on the plastic of the head. Therefore I also like having tape at the top to improve my grip.
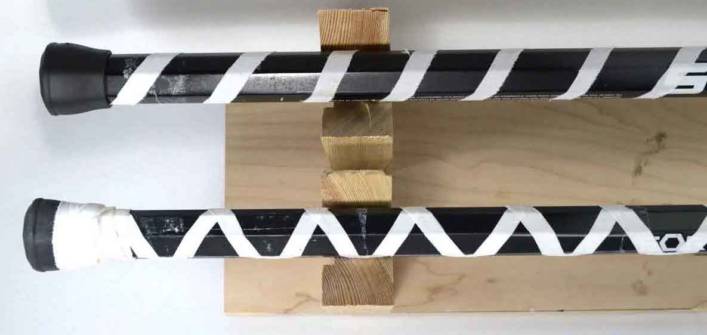
Bare Minimum Tape Job
At a bare minimum I think all goalies need to have tape on the stick where the bottom hand should setup in your stance.
You want to be able to find that location on the shaft instantly and a piece of tape as a guide will do the trick.
Next at a bare minimum you need some tape around the butt end of the shaft.
After you make a save and transition into the clear you’ll want to be able to throw a quick outlet pass. That involves repositioning your hands on the shaft. The revolutions of tape at the bottom of your goalie shaft will allow your bottom hand to slide right into position – without sliding off the shaft.
Some goalies have a few hand lengths worth of tape at the bottom. Others just have a few revolutions. As long as you have something to prevent your hand from sliding off, you’re good.
I like to have lots of revolutions of thin tape around the base so I can slide my bottom hand down aggressively to the end of the shaft for a quick outlet pass.
That’s really only the two basic tape jobs that I recommend all goalies need. Everything else is optional.
Other Tape Options
The other tape options include tape at the top of the shaft where the head connects.
I have tape here for two reasons – 1.) my old shaft broke where the screw connects so the tape holds the head on 2.) I actually like having tape underneath my top hand. I think it prevents the shaft from rotating when the ball makes contact with the head during a save.
Some goalies also put more tape on the stick for additional grip. A common setup is a “candy cane” style tape job where you do thin single (or double) revolutions all the way up the shaft.
As I discuss in my post what shaft length you choose to go with, I use an attack length shaft. This means where I setup with the bottom hand in my stance is pretty much where I place my top hand when throwing outlet passes.
If you have a longer shaft these two spots will not be the same so you’ll want to place tape to mark where the top hand goes for outlet passes.
Lacrosse tape will add a little bit of weight but I think that is completely negligible so feel free to put on any style tape job that feels comfortable and performs well for you. So long as you don’t have an additional pound of tape, it shouldn’t effect your shaft weight.
Here is NCAA goalie Gerald Logan discussing his stick setup along with the tape job he uses:
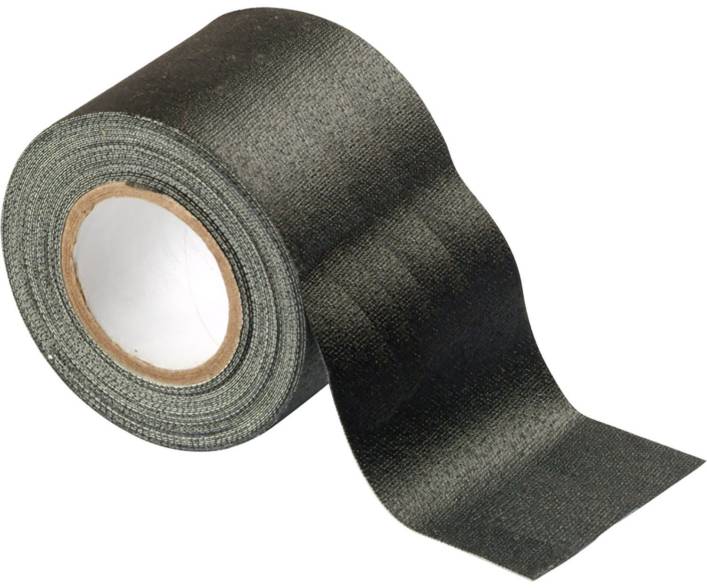
What Kind of Tape
Couple options when it comes to which kind of tape to use to tape up your stick.
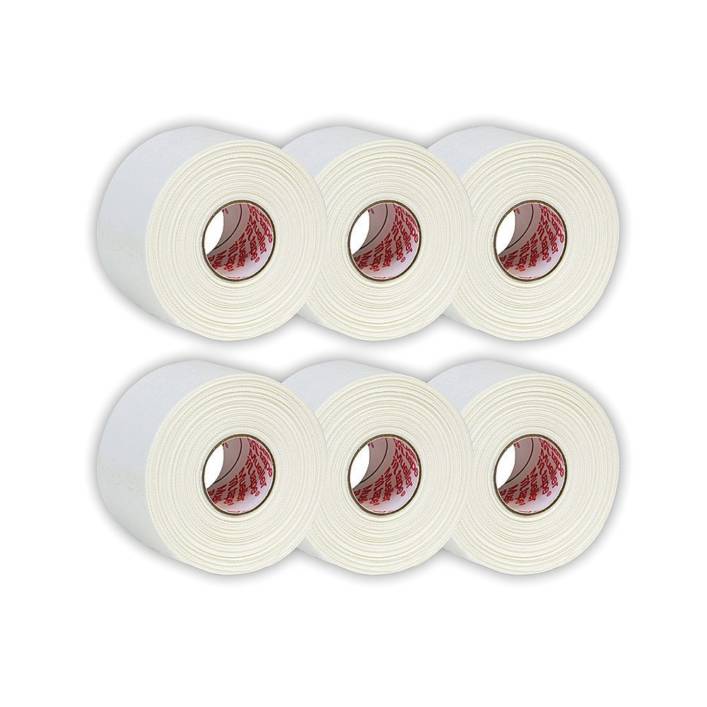
Athletic Tape
The king of tapes when it comes to sports. Tapes goalie sticks as well as it does ankles. Slap a piece with your name written on it on your helmet and you’ve got an instant name tag.
Standard athletic tape is not only the most common its also the best. This style of tape gives a great grip and can easily be split down the center to create thinner pieces for the candy cane style tape job.
The only drawback of the athletic tape is it gets dirty and worn out pretty quickly. Meaning you’ll have to give your stick a new tape job every once in awhile. Some goalies have turned this into a pre-game night before routine, giving their goalie stick a fresh tape job for each game.
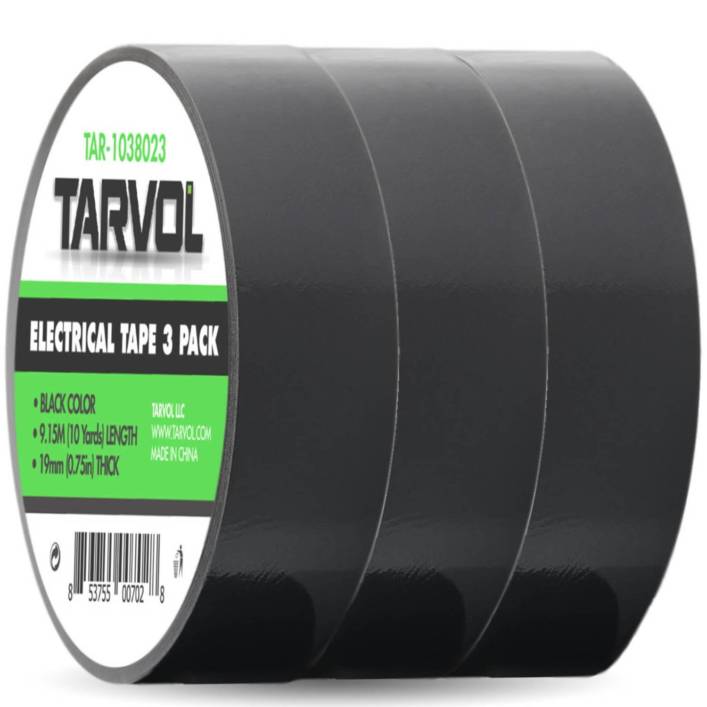
While electrical tape is strong and still does a good job of marking the hand positions on the stick, it’s kind of slick.
The slick black exterior side doesn’t really provide the grip that athletic tape does.
Electrical tape will last longer than athletic tape and can be used in a bind, but I really prefer athletic tape.
Tennis Grip Tape
Finally going to show that you can really use any kind of tape we have tennis grip tape.
Last summer I was staying with my parent’s for a few days and wanted to film some lacrosse goalie instructional videos. I had removed the tape on my head to travel and was all out of athletic tape.
I searched my parents place but they had none. My Dad is an avid tennis player and I found some grip tape in his tennis bag.
This stuff worked like a charm. Great grip and marked the locations on the stick perfectly. It’s actually still on my stick now.
If your biggest issue as a goalie is worrying about how to tape up your shaft, you’re doing pretty good.
Taping up the shaft is not complex. At a minimum put tape to mark where your bottom hand goes in the stance and put tape at the bottom of the stick so your hand doesn’t slide off.
Other tape options like tape at the top of the shaft or a full candy cane style tape job up the stick are completely up to the player.
Whether you use standard athletic tape, electrical tape, or even tennis grip tape, I don’t think you can go wrong. Although the easiest and best tape to use is clearly athletic tape.
Until next time! Coach Damon
Any other specific questions regarding how to tape up your goalie shaft? Anyone tape up their shaft differently? Leave me a comment down below.
Unlock your full potential inside the premier training program for lacrosse goalies. Get exclusive access to technique tutorials, drills, mental game strategies, lacrosse IQ development, and direct coaching from Coach Damon. Join 400+ goalies who are leveling up their skills and confidence.
Being a goalie parent is harder than playing the position. That’s why I created the Lacrosse Goalie Super Mom/Dad course - designed for parents with zero lacrosse experience who still want to support their goalie. You’ll learn how to train them (yes, really), but more importantly, how to guide them through the emotional highs and lows of the game.
Promote your brand, product, or service by sponsoring the Lax Goalie Rat newsletter. It's the easiest way to get noticed by a passionate and highly targeted community of lacrosse goalies and coaches.
4 thoughts on “How to Tape Your Lacrosse Goalie Stick”
Ethan kimNovember 20, 2020 at 10:03 am
Hey coach! Great article, are you allowed to put tape on the throat of your head? I saw Jack Concannon in the PLL do that and I like the feel I just don’t know if it’s legal
Hey Ethan! THanks! Yeah that’s allowed. As long its not so much tape that changes shape of the head. My old shaft so the screw wouldn’t hold the head on and for awhile I had tape on the throat just to keep the head on.
Lacrosse is my passion! The game has given me so much and this blog is my way of giving back to the lax community. Specifically the most bad a$$ part of that community - the goalies! After learning to play goalie from scratch, I wanted to create a site where I could share what I learned with others so they too can become champions in the crease and in life. Learn more about Coach Damon.
Elevate Your Lacrosse Goalie’s Game with Expert Coaching!
Join the Lax Goalie Rat Academy for top-tier virtual goalie training! Boost your young goalie's confidence, skills, and success - so you can be the proud goalie Mom or Dad on the sideline 🔥


 14 Amazing Lacrosse Goalie DrillsAug. 1, 2024
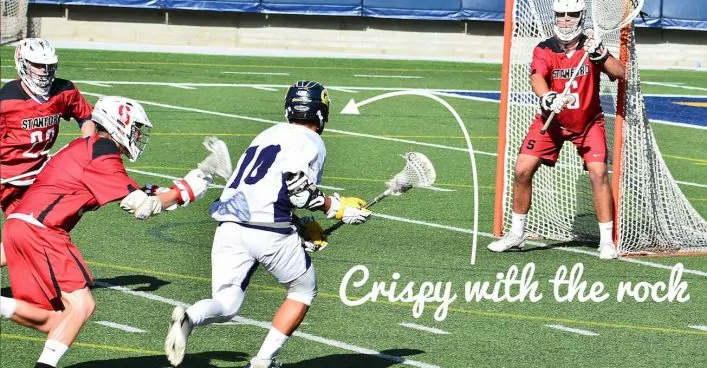 Quick Guide To Lacrosse Slang TermsApril 14, 2025
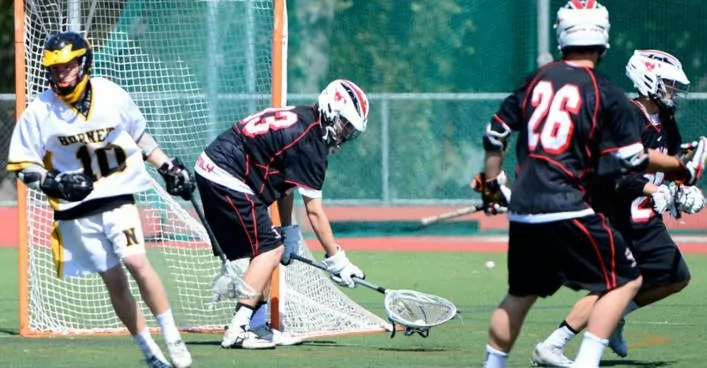 Lacrosse Goalies Rules To KnowJune 28, 2022
 Lacrosse Goalie Step-by-Step Guide to Getting RecruitedFebruary 6, 2022
 18 Lacrosse Goalie Drills to Improve Your GameApril 24, 2025
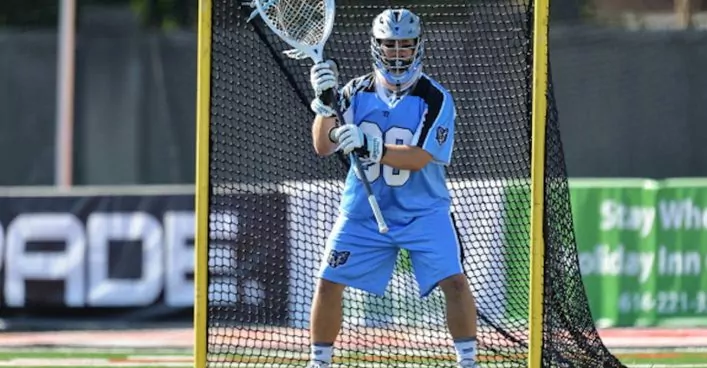 7 Elements of a Great Lacrosse Goalie StanceAug. 1, 2020
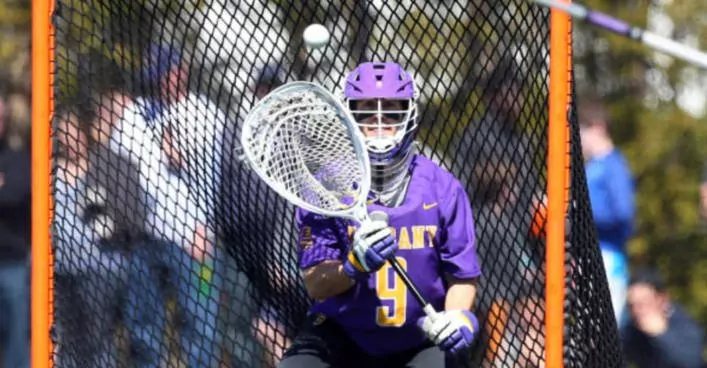 12 Lacrosse Goalie Tips To Take Your Game to the Next LevelSeptember 10, 2024
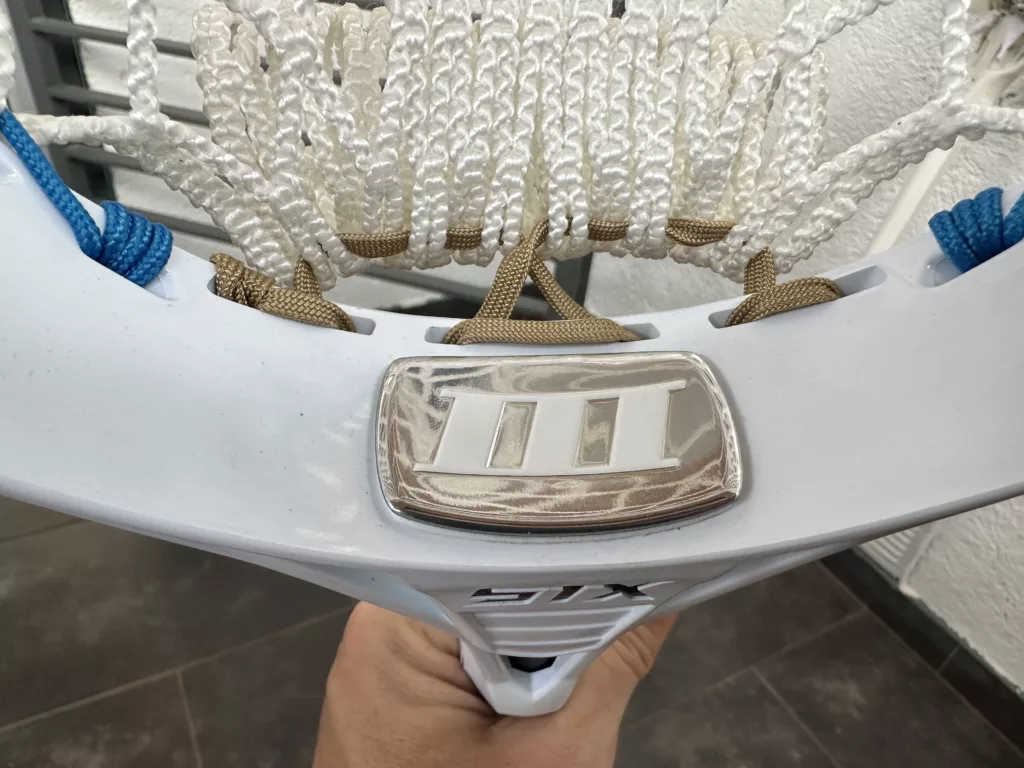 STX Eclipse 3 Goalie Head ReviewApril 24, 2025
 Lacrosse Goalie WorkoutAug. 12, 2019
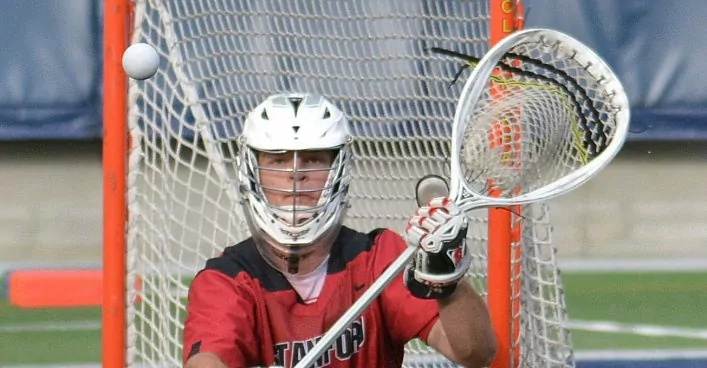 The Basics of Making a SaveJune 29, 2021


Hey coach! Great article, are you allowed to put tape on the throat of your head? I saw Jack Concannon in the PLL do that and I like the feel I just don’t know if it’s legal
Hey Ethan! THanks! Yeah that’s allowed. As long its not so much tape that changes shape of the head. My old shaft so the screw wouldn’t hold the head on and for awhile I had tape on the throat just to keep the head on.
Great stuff. $3 tennis tape is now $10 lol
lol damn inflation.