Every lacrosse goalie has to start somewhere. If you’re brand new to this position and are looking for the basics on how to make a save, this post is for you.
Even if you are a more experienced goalie who has gotten away from the basics, reviewing this post can help you improve your save percentage by getting back to the fundamentals of making a save.
I always recommend that experienced goalies who are going through a slump to get back to the basics.
Lacrosse goalie can be a very complex position but let’s break down the save in the simplest way we can – a full anatomy of a lacrosse save if you will.
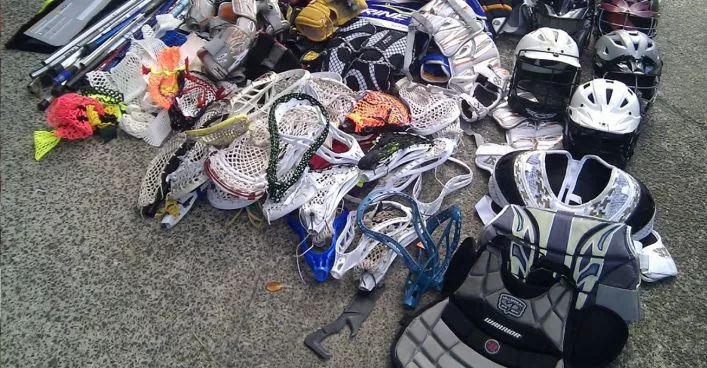
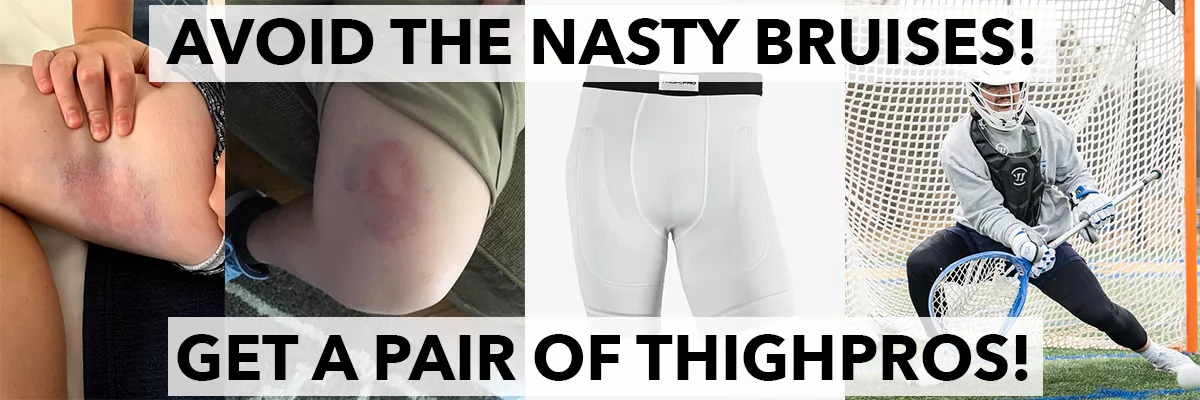
Before I start with the basics of making a save, be sure to get protected. An injured goalie can’t make saves and feeling protected will increase your confidence. So before you step into goal be sure to strap on all the required lacrosse goalie gear and perhaps even some optional protective gear.
Get Setup in a Proper Lacrosse Goalie Stance
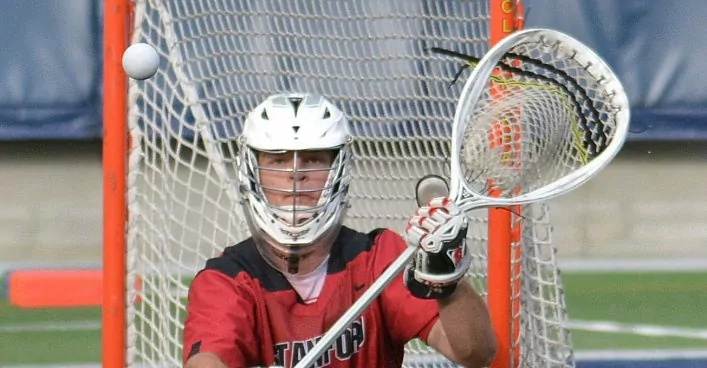
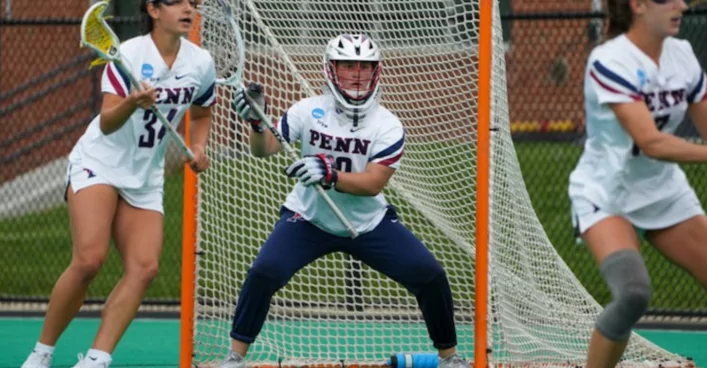
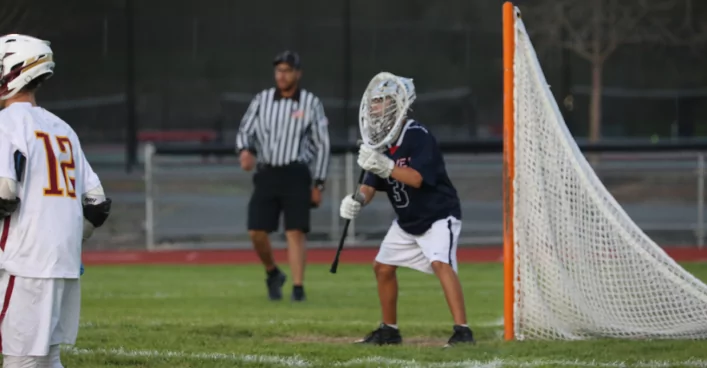
In many different sports there is a “ready position”. For lacrosse goalies that is no different and its extremely important that goalies are in a good, athletic ready position prior to the shot.
The ready position is the foundation for all your saves. A good ready position gives you the best chance to make a save. It puts your body into an athletic position ready to spring and explode towards shots.
Here are the 7 elements of a perfect lacrosse goalie stance:
- Feet a little wider than shoulder width apart
- Bent Knees
- Arms out and away from body
- Proper grip on the stick
- Straight, flat back with slight bend at the hips
- Hands well positioned
- Body Relaxed

What you’ll notice about different lacrosse goalies at the top levels is that there are several different styles of play, and all can be successful.
So instead of obsessing over the 7 elements, I encourage lacrosse goalies to ask themselves this question: are you in an athletic position?
If you’re having trouble with a particular type of save, it’s often because your ready stance is missing one or more of these elements.
Check out a few top level goalies and their ready stances. Try to imitate this in your own ready stance.
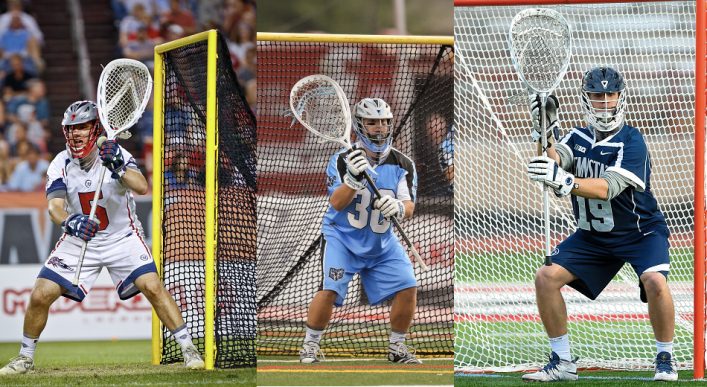
So the first step in lacrosse goalie save basics is to get into a good ready stance.
Position Yourself Properly on the Arc
Sometimes making a save is all about being in the right place at the right time. That means being in the right place on the goalie arc.
A lacrosse shot is fast, especially in today’s game where stick technology and stronger players has upped the average velocity us goalies must face.
The idea of the lacrosse goalie arc is be setup in the right position to limit the amount of movement you need to reach the shot.
For beginning goalies I recommend you start with a traditional arc that has 5 points – pipe left, 45° left, top center, 45° right, pipe right.
Represented visually the traditional 5 point arc looks like this:
Properly positioning yourself on the arc is something that’s done pre-shot that will give you the highest chance to make the save.
For the beginner goalie, the objective is to be directly in the center of the goal from the shooter’s perspective. This allows the goalie to efficiently cover every single inch of the 6′ by 6′ goal.
We want to limit the amount of movement along the arc because when a goalie is moving from point to point on the arc they’re not in the ready position. Therefore we use the 5 point arc vs. constantly moving every time an attackman dodges.
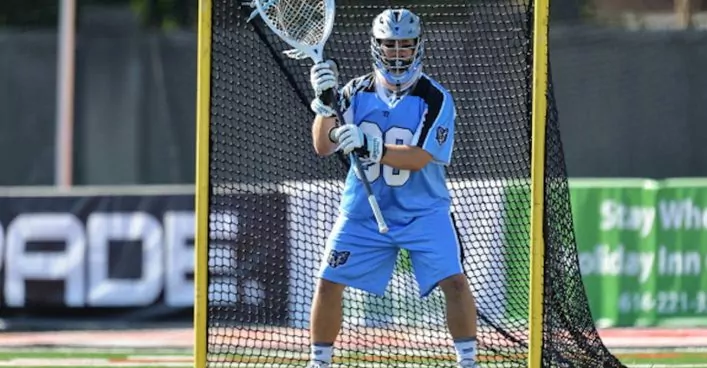
Notice how in the picture below of MLL goalie Jordan Burke he’s splitting the cage directly in half from the shooter’s perspective. As you’d expect from a pro, he’s also in a great ready stance.
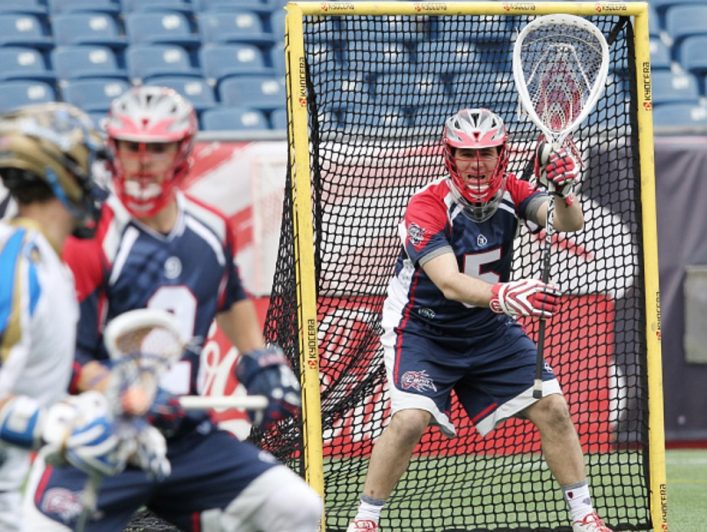
Wherever we are on the arc we want to be square to the shooter. This means our toes, our knees, our shoulders and our face mask are all pointed at the shooter.
Being comfortable finding your spot on the goalie arc and fluidly moving from one spot to another on the arc takes a lot of practice.
As you get more advanced you can consider different lacrosse goalie arcs, such as the flat arc popular in today’s game. But for beginners I recommend the 5 point traditional arc.
Top Hand Drives Straight to the Ball
First a definition – our “top hand” is the right hand for righties, and the left hand for lefties. It controls the head of the stick and is placed right against the plastic of the head.
On the shot, the goalie drives his/her top hand straight to the ball with rattlesnake-like quickness.
Doesn’t matter where the shot goes (stick side high, off stick high, off stick hip, etc.) top hand goes in a straight line to the ball.
“Straight to the ball” is an important concept. Many goalies have no problems moving their top hand straight to the ball with no stick. However once the stick is in their hands, all of a sudden you’ll see the top hand take indirect or circular routes to the shot.
This is especially common on off stick hip or off stick low shots.
If a shot goes to our off stick hip side the top hand should follow the red path, not the brown:
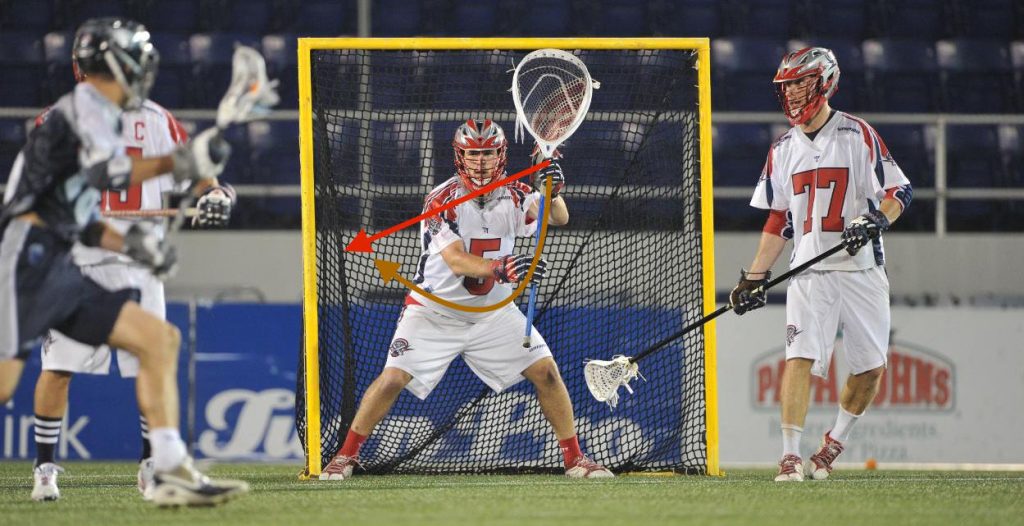
Remember the shortest distance between 2 points is a straight line: so practice moving your top hand directly to the shot.
One tip I learned from PLL pro Brian Phipps is to “cut the clock” on off stick saves. Meaning your top hand cuts the clock instead of moving in a circular motion like normal clock hands:
Here’s MLL and PLL goalie Scotty Rodgers practicing driving his top hand directly to the shot:
Lead Foot Steps Into Path of the Shot
As we throw our top hand at the ball, we’re going to use our body to give it support.
We’ll find that if we support our hand with our body we can get our hand (and thus our stick – stick controls head) to where it needs to be faster.
We’ll also put our body in position to help with a save in the event we miss the ball with our hand/stick. While the goal of every shot is to catch it in our stick, we’ll often make body saves as a result of this lead step.
So we’ll combine our lead hand with a lead step.
The simplest way to the describe the lead step is whatever side the ball is shot on, that side becomes the lead foot.
Drawing a line perpendicular to the ground down the center of body. If the shot is to the left of the line, we step with our left foot. If the shot is to the right of the line, we step with our right foot. This is our lead step.
For beginner goalies I recommend this step is at a 45 degree angle to help cut down the angle of the shot.
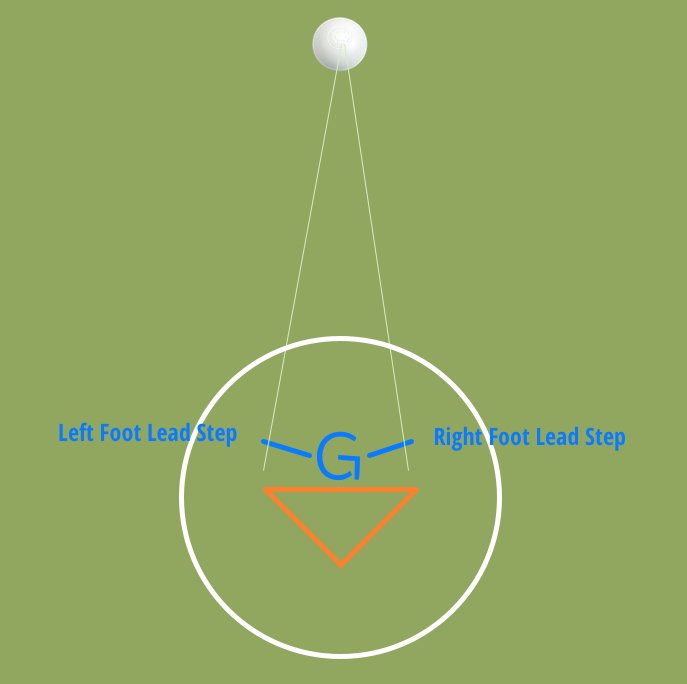
As goalies get more advanced you can have a look at this post to understand the different type of steps we can use: 45 degree vs lateral step: which is best?
Finish with a Shuffle Step
When you watch video of yourself making saves, if you pause the tape at the moment you make contact with the ball, for the majority of saves, the only things that will have moved are your lead hand and lead foot.
However a lacrosse goalie must finish every save.
To finish the save I teach lacrosse goalies to use a “shuffle step”. The shuffle step looks like this (demoed by Maryland goalie Logan McNaney):
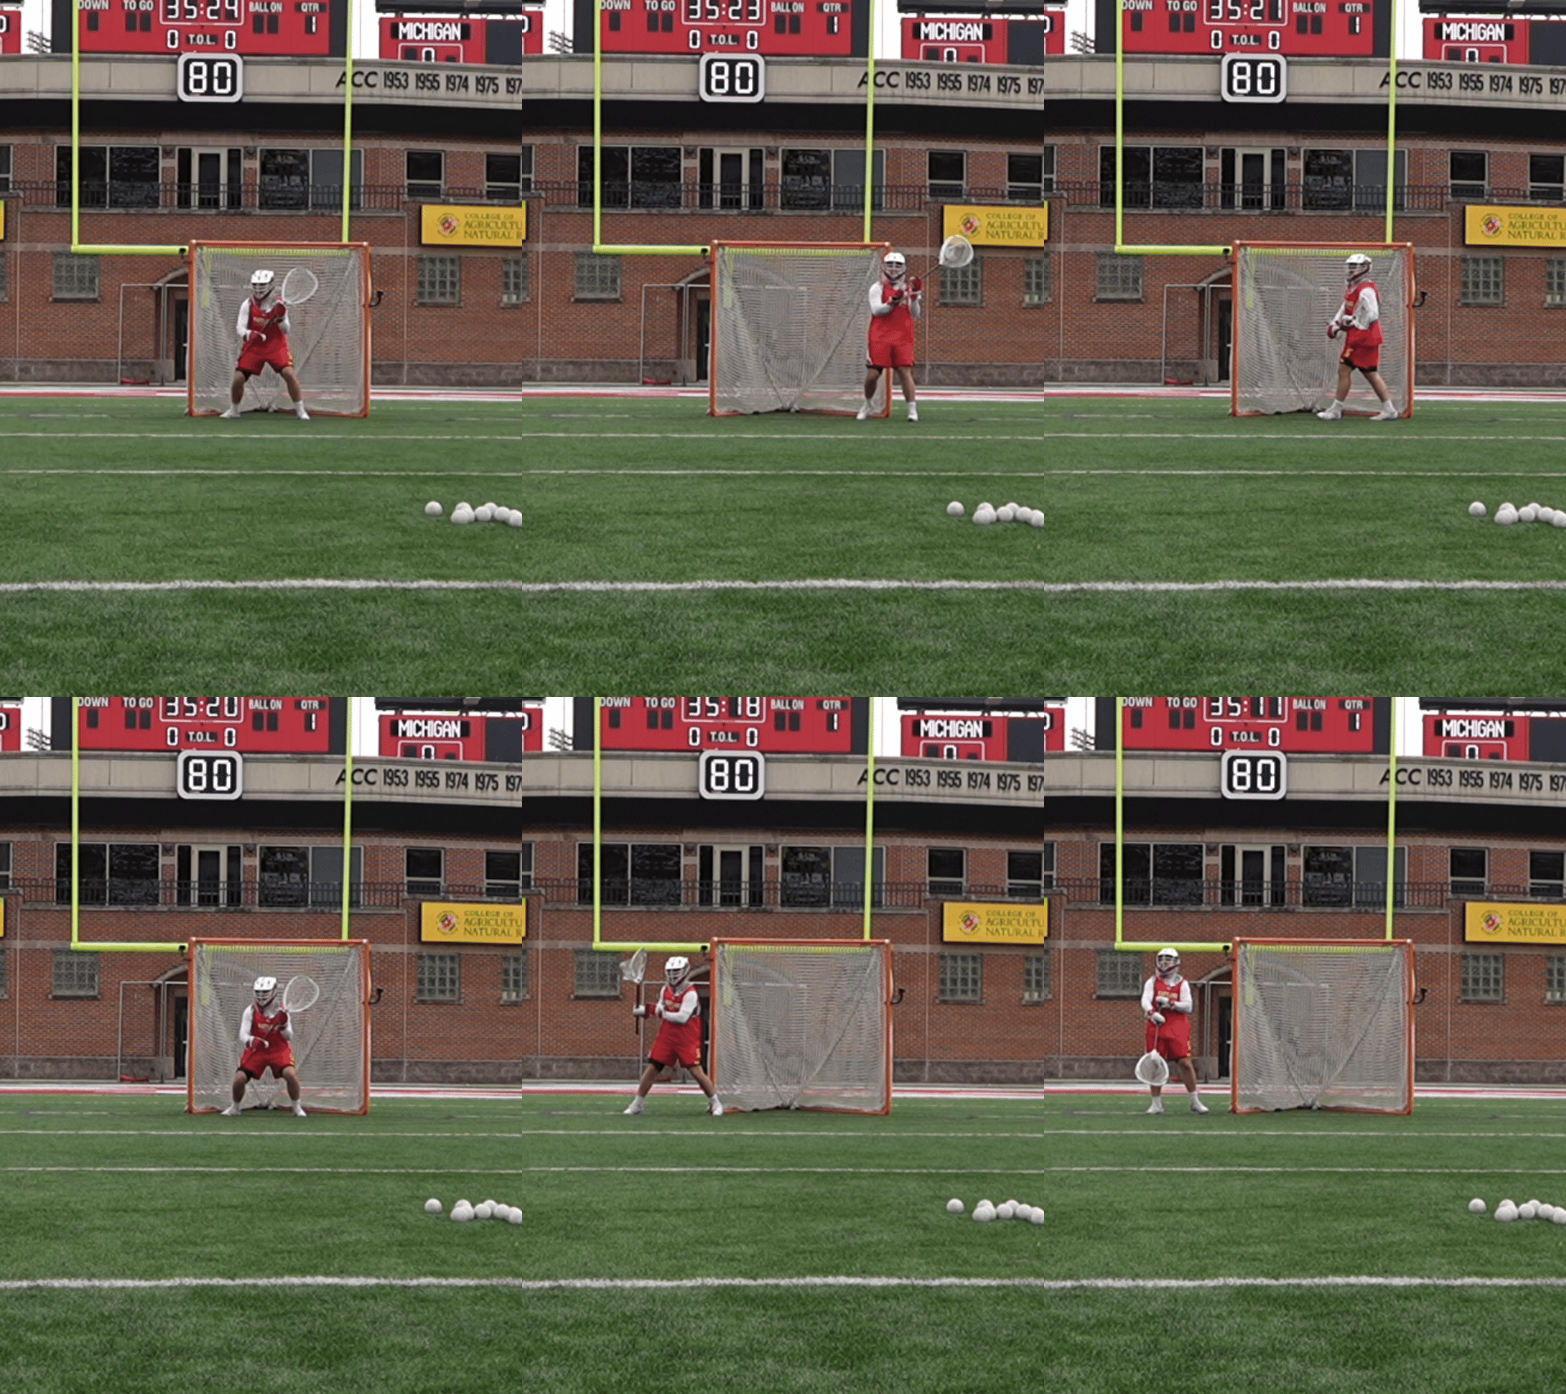
With the trail foot (i.e. foot that did not take lead step) we’ll step and then we’ll step again with our lead foot to land in a balanced ready position.
Here is another example of a Brown goalie Andy Demopoulos:
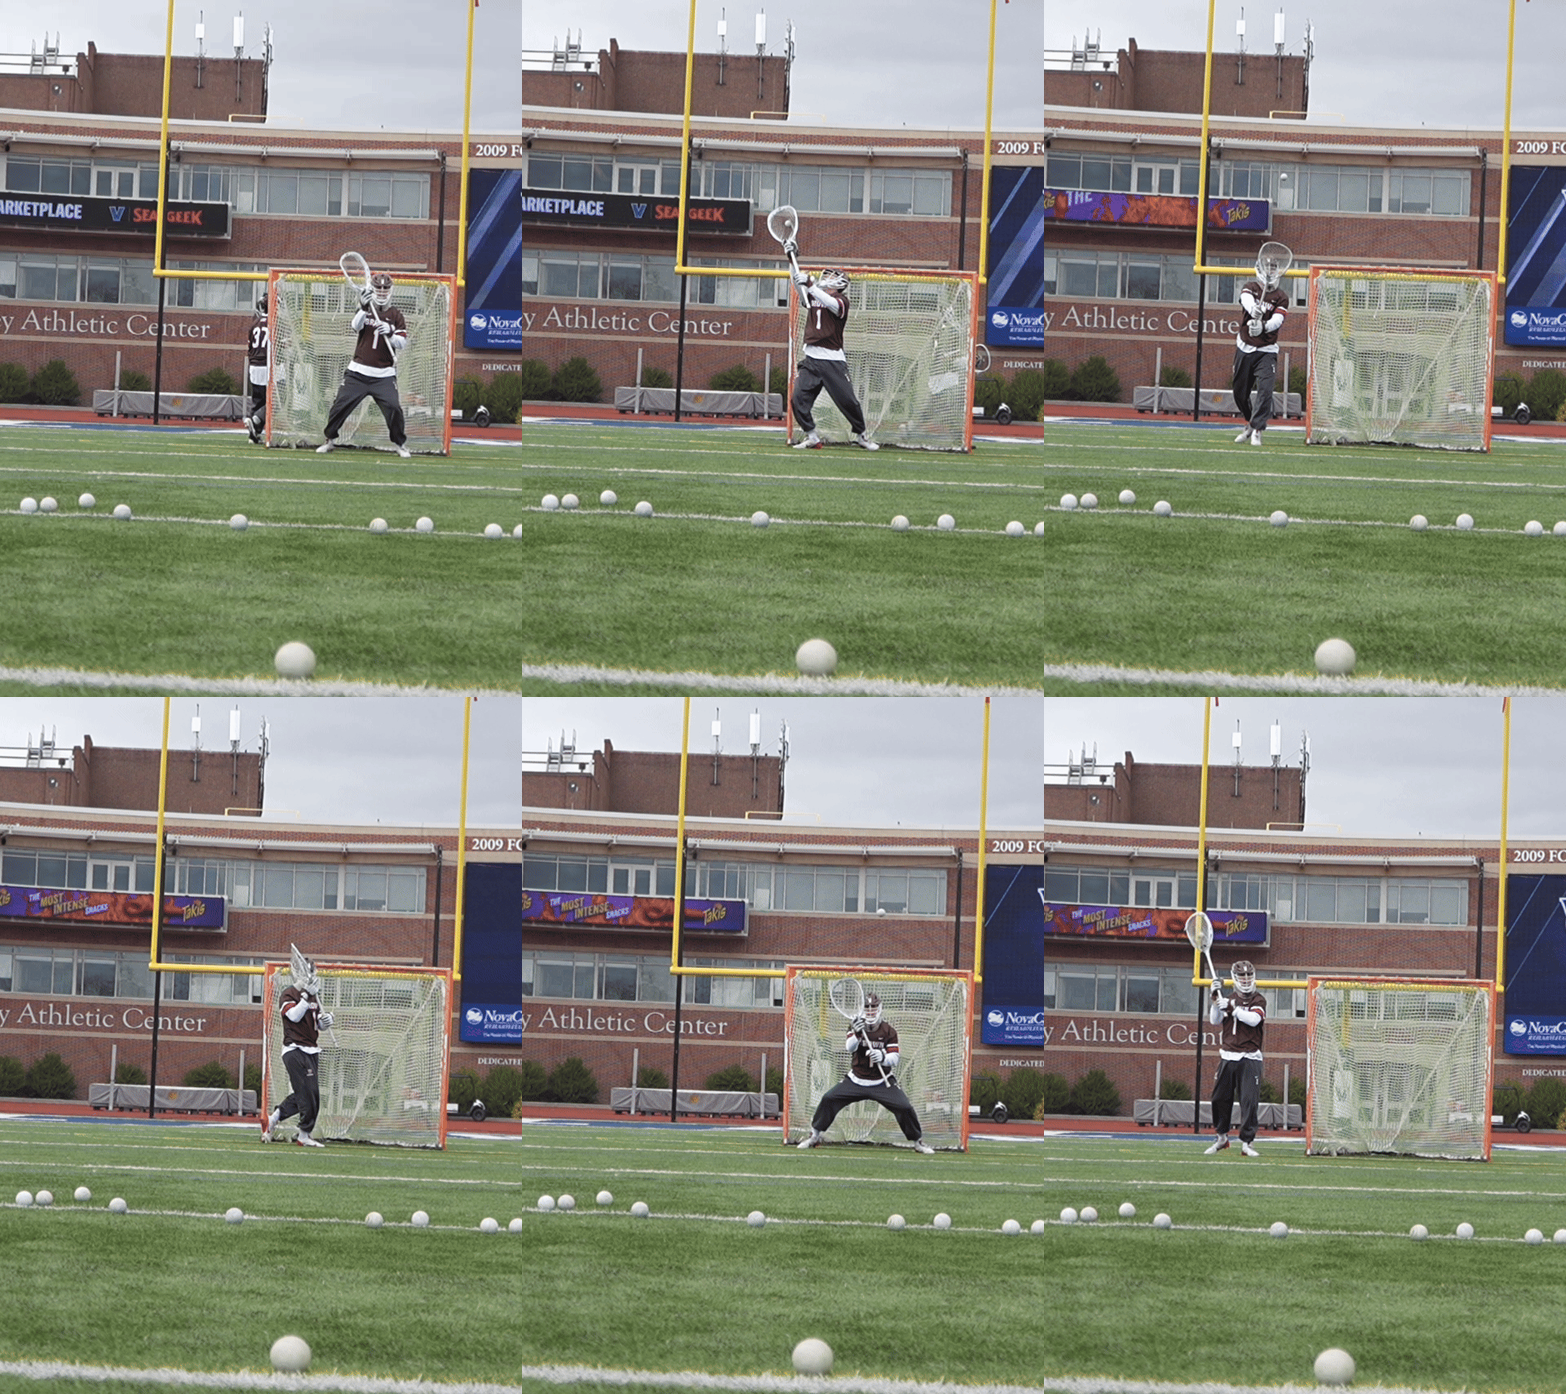 :
:
The idea of finishing a save is to be ready to make another save in the event of a rebound or to be in a good athletic position to make an outlet pass.
Ridiculous Eye Focus on the Ball
The final element of the anatomy of save is: the lacrosse goalie needs to be incredibly focused on the ball.
From the time the ball is in the shooter’s stick until it is in your own goalie stick our eyes should be ridiculously focused on the ball.
I like the word ridiculously focused because it implies a level of focus that is extremely high.
As you’re taking warmup shots in practice or going through lacrosse goalie drills ensure that you’re ridiculously focused on the ball.
Putting It All Together
When all the elements of the save process are put together you get this:
Aren’t saves a thing of beauty?
If you like saves, watch the Lax Goalie Rat save edits for more saves from tons of college and pro games.
Conclusion
The position of lacrosse goalie can get pretty complex but if you had to distill “making a save” down to its roots, it would be this:
- Good ready position
- Well positioned on the arc
- Top hand drives to the shot
- Lead foot steps into shot path
- Shuffle step to finish the save
- Ridiculous Eye Focus
Whether you are brand new goalie or an experience goalie going through a rut, learning the anatomy of making a save is critical to being a great goalie.
Once you understand the basics of making a save its time to hit the practice field. Just like you can’t learn to swim by reading a book, you can’t learn to make saves simply by reading this post.
It takes experience to develop your technique. Practice, practice, practice!
Until next time! Coach Damon
Anything I missed regarding the basics of making a save? Any questions? Let me a comment down below.


 14 Amazing Lacrosse Goalie DrillsAug. 1, 2024
 Quick Guide To Lacrosse Slang TermsApril 14, 2025
 Lacrosse Goalies Rules To KnowJune 28, 2022
 Lacrosse Goalie Step-by-Step Guide to Getting RecruitedFebruary 6, 2022
 18 Lacrosse Goalie Drills to Improve Your GameApril 24, 2025
 7 Elements of a Great Lacrosse Goalie StanceAug. 1, 2020
 12 Lacrosse Goalie Tips To Take Your Game to the Next LevelSeptember 10, 2024
 STX Eclipse 3 Goalie Head ReviewApril 24, 2025
 Lacrosse Goalie WorkoutAug. 12, 2019
 The Basics of Making a SaveJune 29, 2021





 :
:













I’m a new goalie, only been playing the position for about three days. I’ve had some trouble with not stepping towards the ball, and not anticipating where it will be. Some people on my team shoot so fast it is very hard to see the ball, how do I anticipate where the ball is going?
That makes total sense for only playing goalie 3 days. Goalies with a year of experience have trouble stepping to the ball. You’ve got to learn the basics first. Learn the correct form then drills, drills, drills, to make it second nature. Learn good save technique and develop your quickness 1st – don’t try to anticipate where it’s going. See ball – save ball.
I’m a high school girls goalie and I’ve been struggling with keeping my eye on the ball while watching where all the other players are. What do you recommend to help with splitting my time between the two?
I wouldn’t worry about where the other players are. The primary threat is the ball. Focus on the ball. Eventually you can see players with peripheral vision especially those open on the crease area. If the ball is in area of the field where its not a threat you can glance at the other players. But if you’re struggling keeping your eye on teh ball, focus on the ball, don’t watch where the other players are. That’s my thoughts. Good luck Kyla!
Hey Coach Damon, I’ve started a while back and had no trouble stepping or hand to ball stuff. before I go at the ball though I’ve been told I tap my foot once, similar to how people tap once before jumping a rope. I also have been told I snap at the ball. Are these nervous tics, or just newbie qualities? How could I get out of them if they’re bad?
Tough to say without seeing a video. The snapping does sound like a newbie quality as you want to make a fluid motion to the ball during the save. Tapping the foot sounds like wasted movement if I’m understanding correctly. If its a hitch before the shot gets released, that’s fine. Checkout pro goalie John Galloway he almost does machine gun feet before a shot is about to be fired at him.
Oh wow! That’s exactly what I do. Thank you so much
You’re welcome. Keep me posted on how its going.
Coach-do you have a checklist of things a goalie can look over if they are not making saves? As an example, if I am missing several saves in a row:
1) Check the stance basics
2) Did you stretch well enough?
3) Are you watching the head of the stick of th eplayer with the ball
etc?
Just looking for some ideas about the most common reasons for missing otherwise makeable saves to give my guys guidance. Thanks!
Good question! I may turn this into a new post.
1. Stance
2. Positioning (Arc)
3. Reaction – no flinching/no false movements – top hand straight to the ball.
Those are the 3 I’d focus on. Then if they’re not making ANY saves you’ve got to work the mental game to build up their confidence.
The physical component – getting in shape, making your body explosive – is very important but takes time to build up. Not really something that goes into one-time, instant improvement checklist.
Hope that helps!